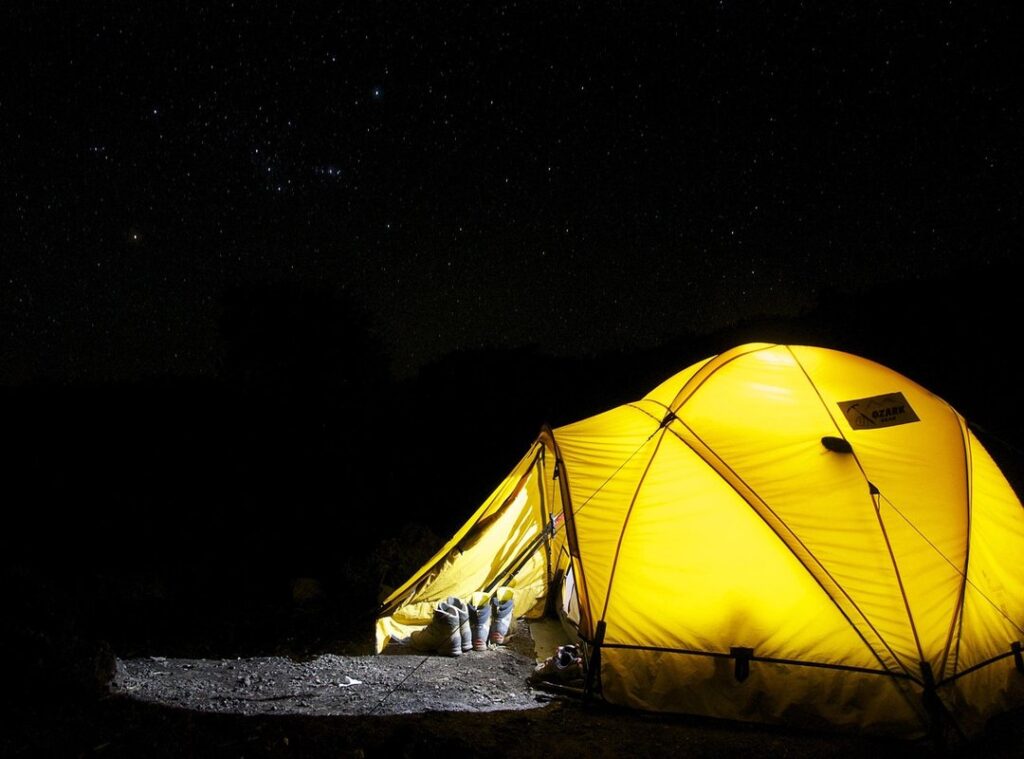
Opening that tent bag and facing a tangled mess of poles, fabric, and stakes just as the sun is dipping below the horizon is the worst. I’ve been there, and I know you have too. The stress of trying to figure it all out before darkness hits can ruin the start of any adventure.
Here’s where a good tent setup guide comes in handy. My years of trekking through wild terrains have taught me one thing: a reliable method saves both time and sanity. I’ve pitched tents in every condition you can imagine, from peaceful meadows to blustery mountaintops.
Trust me, by the end of this guide, you’ll have a snug tent but also the skills to make setup easier on every trip. Ready to ditch the stress? Let’s get started.
Before You Begin: The 5-Minute Pre-Pitch Checklist
Before you even think about unfolding that first pole, let’s talk preparation. A successful tent setup starts way before you touch any gear. It’s all about picking the right spot.
Look for flat, level ground. Ever heard of “widowmakers”? Those are loose branches above you that could crash down while you sleep.
Not fun. Also, think about drainage. You don’t want your tent to turn into a pool if it rains.
Clearing the site is next. Get rid of sharp rocks, twigs, or pinecones. They might seem harmless, but they can puncture your tent floor.
Trust me, waking up on a damp sleeping bag isn’t ideal.
Now, let’s talk about the footprint or ground tarp. It’s not just an extra layer. It protects your tent floor and adds waterproofing.
Make sure it’s slightly smaller than your tent base. Otherwise, rain can sneak in.
Finally, unpack and inventory all parts. Lay everything out: tent body, rainfly, poles, stakes, and guy lines. Missing anything?
Better find out now. This prevents surprises midway through setup.
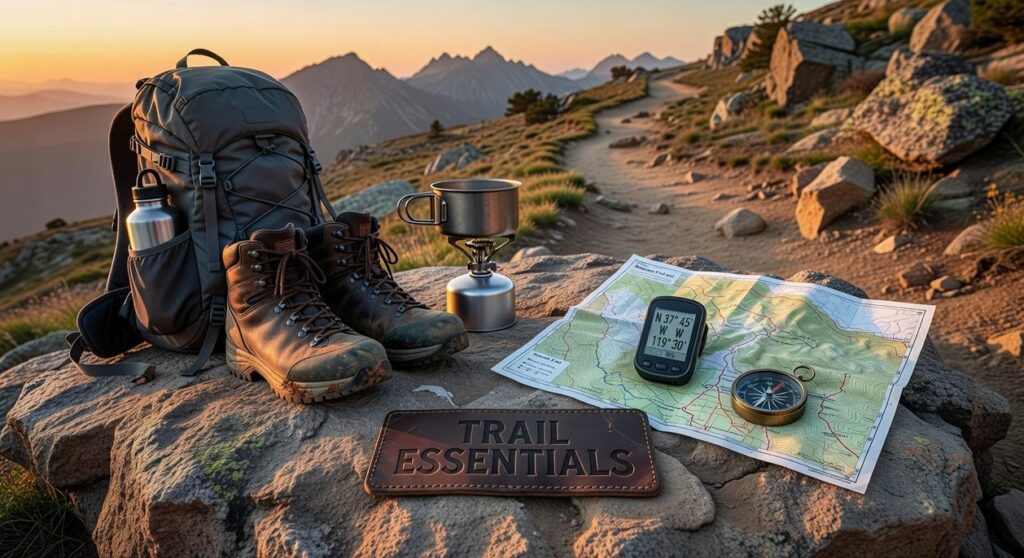
Oh, and before you head out, don’t forget to choose right hiking boots. Your feet will thank you.
Tent Setup Mastery: Get Your Tent Right Every Time
Setting up a tent can be a hassle, but it’s not rocket science. I promise. You just need the right tent setup guide, and you’ll be camping like a pro.
Let’s jump into it.
First things first. Lay out your tent body on the ground. Sounds simple, right?
But you’d be surprised how many people get this wrong. Make sure the door is facing where you want it. No one wants to step out into a bush at 3 AM (trust me).
Stake down those corners loosely. This keeps it in place while you work your magic.
Next up, poles. Assemble them. They’re usually shock-corded, which means they snap together like Legos.
Make sure each section is fully seated. If they aren’t, they might snap under tension, and then you’re sleeping under the stars (not as romantic as it sounds when it’s raining).
Now, match those poles to sleeves or clips. There are two main systems here: pole sleeves and clips. Pole sleeves are long fabric tubes, and clips are, well, clips.
Some tents use color-coding to make this idiot-proof. Pay attention to these colors. They’re there for a reason.
Time to raise the structure. Start with the main “X” frame. Insert those poles, but here’s a pro tip: push them through the sleeves.
Don’t pull. Pulling might separate them, and you’ll be back at square one. Get it right the first time.
Creating tension is next. Flex the poles and insert the ends into the grommets or pins at the tent’s corners. Do opposite corners sequentially.
This distributes tension evenly and keeps your tent from looking like a lopsided circus tent.
Finally, attach the clips. If your tent uses clips, snap them onto the poles. This gives the tent its final shape.
It’s satisfying, like the last piece of a puzzle.
If you need more help, check out some tent setup guides for detailed visuals and extra tips.
Remember, practice makes perfect. The more you set up your tent, the quicker you’ll get. You might even start enjoying it.
But don’t quote me on that.
And there you have it. A quick, no-nonsense guide to setting up your tent. Follow these steps, and you’ll have a sturdy shelter in no time.
Get out there and enjoy the wilderness. You deserve it.
Weatherproofing Your Shelter: Rainfly and Guy Lines Done Right
Let’s cut to the chase. Attaching the rainfly and guy lines isn’t just a good idea; it’s important for keeping dry. You might think, “Do I really need this?” Trust me, you do.
The rainfly is your first line of defense against the elements. Make sure the door on the fly aligns with the tent door, and let those seams face out. It’s not just aesthetics.
It’s practical.
Now, draping the fly over the tent frame. Taller tents? Grab a buddy.
It’s a two-person gig unless you enjoy a wrestling match with nylon. Once it’s on, secure everything. Connect those buckles or Velcro straps at the corners and to the poles.
Aim for a taut, drum-like surface. Why? Because water should roll off like it’s got somewhere more important to be.
On to the guy lines. They aren’t decorative. They’re key for stability during wind and rain.
You know how to attach them, right? Find the loops on the rainfly, stake them out at a 45-degree angle, away from the tent. This creates the tension needed to keep things standing tall.
It’s not just about surviving the night. It’s about comfort.
By the way, if you’re into Packing Light Day Hikes, a solid tent setup guide comes in handy. Light pack, dry tent. Sounds like a plan, right?
Troubleshooting Tent Setups: Quick Fixes for Common Snags
Ever been stuck in the middle of nowhere with a tent setup guide that feels more like a puzzle? I have. Let’s tackle these setup snags head-on.
First, the dreaded stuck pole section. This happens more than you’d think. Just use another pole section to push it out from the other side.
Or grab pliers (gently, please). Keep your poles clean to prevent this.
Next, the backward rainfly. It’s a classic rookie mistake. If the vestibule doesn’t line up, you’ve probably got it on wrong.
Check for logos or tags that show which side’s the front.
Now, sagging tents. Annoying, right? Usually, it means your poles aren’t seated correctly in the grommets or the ground’s uneven.
Fix it by rechecking tension and placement.
And what about those stakes refusing to go into hard ground? Who hasn’t been there? Find a rock to tap them in or angle them to find a softer path.
For sandy or snowy terrain, use the ‘deadman anchor’ technique with a rock or log.
Tents can test your patience, but with these fixes, you’ll be camping like a pro. Ever had a tent collapse in the middle of the night? Yeah, me too.
Secure Your Shelter’s Future
You’ve turned that confusing bag of parts into a secure shelter. Remember the frustration of tent setups gone wrong? That’s history.
With our tent setup guide, you now own a step-by-step process to pitch your tent anywhere with ease. No more guesswork.
Wondering what’s next? Practice in your backyard before your big adventure. Perfect it.
Feel confident. Make your wilderness experience as smooth as possible.
Why risk a rough trip? We’re the #1 rated guide for a reason. Get out there.
Test it. Master it. Your next trip depends on it.
Ready for the wild?
 Founder & CEO
Korlan Kovalde writes the kind of hidden gems content that people actually send to each other. Not because it's flashy or controversial, but because it's the sort of thing where you read it and immediately think of three people who need to see it. Korlan has a talent for identifying the questions that a lot of people have but haven't quite figured out how to articulate yet — and then answering them properly.
They covers a lot of ground: Hidden Gems, Gear Setup and Trail Tips, Frontier Findings, and plenty of adjacent territory that doesn't always get treated with the same seriousness. The consistency across all of it is a certain kind of respect for the reader. Korlan doesn't assume people are stupid, and they doesn't assume they know everything either. They writes for someone who is genuinely trying to figure something out — because that's usually who's actually reading. That assumption shapes everything from how they structures an explanation to how much background they includes before getting to the point.
Beyond the practical stuff, there's something in Korlan's writing that reflects a real investment in the subject — not performed enthusiasm, but the kind of sustained interest that produces insight over time. They has been paying attention to hidden gems long enough that they notices things a more casual observer would miss. That depth shows up in the work in ways that are hard to fake.
Founder & CEO
Korlan Kovalde writes the kind of hidden gems content that people actually send to each other. Not because it's flashy or controversial, but because it's the sort of thing where you read it and immediately think of three people who need to see it. Korlan has a talent for identifying the questions that a lot of people have but haven't quite figured out how to articulate yet — and then answering them properly.
They covers a lot of ground: Hidden Gems, Gear Setup and Trail Tips, Frontier Findings, and plenty of adjacent territory that doesn't always get treated with the same seriousness. The consistency across all of it is a certain kind of respect for the reader. Korlan doesn't assume people are stupid, and they doesn't assume they know everything either. They writes for someone who is genuinely trying to figure something out — because that's usually who's actually reading. That assumption shapes everything from how they structures an explanation to how much background they includes before getting to the point.
Beyond the practical stuff, there's something in Korlan's writing that reflects a real investment in the subject — not performed enthusiasm, but the kind of sustained interest that produces insight over time. They has been paying attention to hidden gems long enough that they notices things a more casual observer would miss. That depth shows up in the work in ways that are hard to fake.