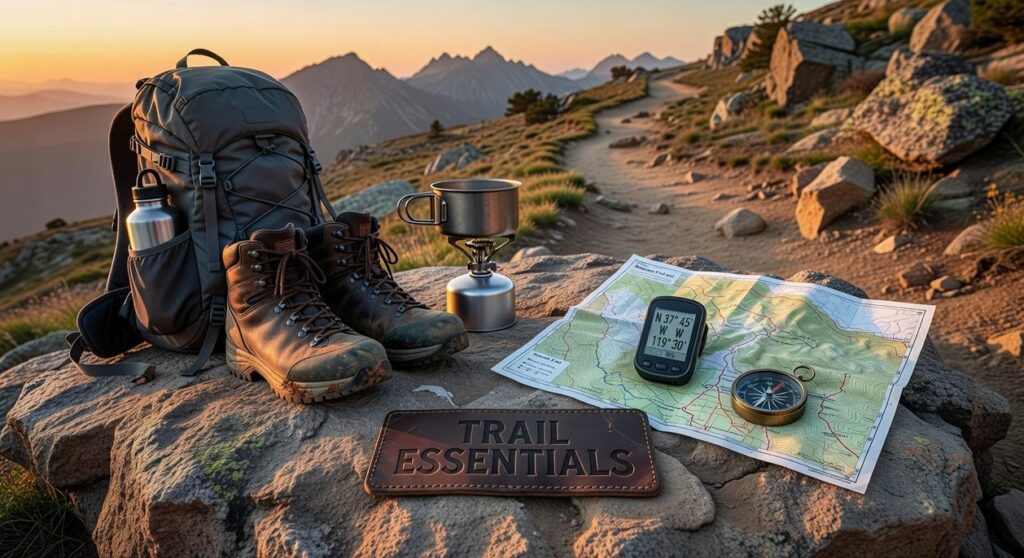
If you’re searching for practical ways to hike longer, feel stronger, and avoid unnecessary strain on the trail, you’re in the right place. This guide is built to deliver clear, field-tested hiker weight distribution tips that improve balance, reduce fatigue, and protect your joints across varied terrain.
Many outdoor enthusiasts struggle with sore shoulders, aching hips, or unstable footing—not because they lack strength, but because their pack setup works against them. Understanding how weight placement affects posture, center of gravity, and energy output can transform your entire backcountry experience.
To ensure accuracy, this article draws on established backpacking best practices, outdoor gear testing standards, and insights from experienced long-distance hikers who’ve logged thousands of trail miles. You’ll learn how to position heavy items, adjust load lifters and hip belts properly, and adapt your pack for steep ascents, descents, and uneven ground.
By the end, you’ll know exactly how to carry smarter—so every step feels more efficient and controlled.
Pain on the trail usually shows up as sore shoulders, aching lower back, and that off-balance wobble on uneven ground. Most hikers blame heavy gear. In reality, the culprit is poor weight distribution.
After years trekking rugged terrain and testing dozens of packing setups, I learned this: balance beats brute strength. Place dense items close to your spine and mid-back, keep lighter gear toward the top, and compress everything to prevent shifting. These small features create comfort gains.
Use hiker weight distribution tips to stabilize loads, reduce strain, and improve endurance (your knees will thank you). Hike longer. Finish stronger.
Understanding Your Center of Gravity on the Trail
Additionally, understanding weight distribution not only enhances your hike but can also complement your adventures into the unknown, especially when equipped with Modern Tools Used in Mapping Uncharted Territories.
If your pack feels like it’s pulling you backward or swaying side to side, your center of gravity is out of sync. Your goal is simple: align your pack’s center of gravity with your own, which naturally sits around your lower back. When those two points move together, hiking feels smoother, more stable, and far less exhausting (your knees will thank you on descents).
Think of packing like building a stable tower. The heaviest bricks go in the middle, tight to the main support beam—your spine. That’s the logic behind the Three-Zone Packing System:
- Bottom Zone: Store bulky, lightweight items like your sleeping bag or insulated layers. This creates a soft base without dragging you backward.
- Middle (Core) Zone: Place your heaviest gear—food bag, water reservoir, cook kit—close to your back. This is the engine room. Keep it centered and snug.
- Top/Accessory Zone: Stash essentials you’ll need on the move—rain jacket, map, snacks. Easy access prevents constant unpacking.
Some hikers argue weight should sit lower for stability. That can work on flat terrain. But on uneven trails, keeping weight high and close improves balance and agility (especially during rock scrambles).
For practical hiker weight distribution tips, always tighten compression straps after loading. Pro tip: shake your pack before sealing it—if it shifts, so will you.
Zone 1: Building a Stable Base at the Bottom

Zone 1 is reserved for bulky gear you won’t need until camp: your sleeping bag (in a compression sack), sleeping pad, and dedicated camp clothes. Think of this layer as your pack’s foundation slab.
Here’s the comparison that matters:
| Option A: Light, compressible gear at bottom | Option B: Heavy or frequently used gear at bottom |
|---|---|
| Creates a soft, shock-absorbing base | Pulls weight backward and down |
| Stabilizes the load above | Causes imbalance and shoulder strain |
| Keeps essentials accessible up top | Forces constant unpacking |
Some hikers argue heavier gear should go at the bottom to “anchor” the pack. In reality, that shifts your center of gravity away from your hips (and your hips should carry most of the load—see hiker weight distribution tips). A stable base cushions impact without dragging you backward.
Pro Tip: Fill empty gaps with socks or extra layers to stop gear from shifting mid-hike (because nothing’s worse than a pack that suddenly feels alive).
Zone 2: The Core for Your Heaviest Items
Zone 2 is the engine room of your pack. If weight distribution goes wrong here, everything else suffers. Simply put, this is the most critical zone for balance, posture, and long-distance comfort.
So, what belongs here? The densest and heaviest items in your kit:
- Water reservoir (if used)
- Food supplies (excluding trail snacks)
- Cook set
- Fuel canister
- Tent body and poles
These items should sit as close to your spine as possible, positioned between your shoulder blades. Why? Physics. When mass is centered near your body’s natural pivot point, it reduces torque (the rotational force that pulls you backward). As a result, the load transfers efficiently to your hips through the hip belt instead of dragging down your shoulders.
Some hikers argue that placing heavy gear lower improves stability. In certain scrambling scenarios, that can help. However, for most trekking terrain, keeping weight higher and close to your spine promotes a natural, upright posture and reduces fatigue over miles.
Think of it like a well-designed hiking backpack versus a sagging school bag (we’ve all felt that slump). Proper placement keeps you aligned and efficient.
For more practical hiker weight distribution tips, review your full system before heading out—especially when setting up a campsite for safety and comfort.
Zone 3 covers the top and outer pockets of your pack, designed for lighter essentials you need without tearing everything apart. This space holds a rain jacket, fleece layer, first-aid kit, water filter, map, headlamp, and trail snacks. It’s about speed and accessibility when the weather flips or daylight fades (because it always does). Side pockets are ideal for water bottles, while the brain stores small, frequently used items like sunscreen or a GPS device. Use hiker weight distribution tips in the section once exactly as it is given Keeping this zone relatively light prevents a top-heavy load that sways on uneven terrain. Think of it as your quick-draw layer—gear you can grab mid-stride without breaking rhythm. Balanced correctly, this zone improves stability, reduces shoulder strain, and keeps critical tools within arm’s reach during sudden storms, tricky river crossings, or surprise wildlife encounters on the trail. Plan smart, hike smarter.
After you’ve packed everything, are you ready to hit the trail? Or are you skipping small tweaks that make a BIG difference?
Start with compression straps. Cinch them down so the load stays tight, weight sits closer to your spine, and nothing shifts when terrain gets uneven. Loose gear throws off balance fast.
Next, check side-to-side balance. Did you stack water bottles on one side? That’s how sore hips happen. Use hiker weight distribution tips to keep things even.
Finally, try the “Shake Test.” Jump. Lean side to side. Hear rattling? Feel sway? Fix it now, not miles later.
Hike Smarter, Not Harder
Mastering weight distribution is the skill that eliminates the most common cause of trail discomfort. Instead, of blaming sore shoulders or aching hips, adjust how your pack is loaded. The three-zone system keeps light bulk at the bottom, heavy gear centered, and essentials on top for quick access. For clarity, review this setup:
Zone | Purpose | Examples
Bottom | Light Bulk | Sleeping bag, clothing
Middle | Heavy Gear | Water, stove, food
Top | Essentials | Map, snacks, rain shell
Before your next hike, repack using these hiker weight distribution tips and notice the difference in endurance and enjoyment immediately feel stronger.
Take Your Next Step Into the Wild With Confidence
You set out looking for practical guidance to explore farther, pack smarter, and move confidently through wild terrain. Now you have the foundational knowledge to approach frontier trails, hidden gems, and rugged environments with clarity and purpose.
The biggest challenge most outdoor explorers face isn’t ambition — it’s preparation. Poor planning, inefficient packing, and ignoring essentials like hiker weight distribution tips can quickly turn an unforgettable adventure into a frustrating or even dangerous experience. You don’t want to cut your journey short because of preventable mistakes.
The good news? You’re now equipped to make smarter gear decisions, balance your load properly, and approach each expedition with strategy instead of guesswork.
If you’re ready to explore deeper terrain with confidence, start applying these techniques on your next outing and continue building your backcountry skills with us. Our guides are trusted by thousands of outdoor enthusiasts who want reliable, field-tested insights — not fluff.
Don’t let uncertainty hold you back. Gear up, plan smart, and step into your next adventure prepared.
 Operations & Field Coordinator
There is a specific skill involved in explaining something clearly — one that is completely separate from actually knowing the subject. Maximonicoly Robinson has both. They has spent years working with alawi wilderness navigation in a hands-on capacity, and an equal amount of time figuring out how to translate that experience into writing that people with different backgrounds can actually absorb and use.
Maximonicoly tends to approach complex subjects — Alawi Wilderness Navigation, Frontier Findings, Gear Setup and Trail Tips being good examples — by starting with what the reader already knows, then building outward from there rather than dropping them in the deep end. It sounds like a small thing. In practice it makes a significant difference in whether someone finishes the article or abandons it halfway through. They is also good at knowing when to stop — a surprisingly underrated skill. Some writers bury useful information under so many caveats and qualifications that the point disappears. Maximonicoly knows where the point is and gets there without too many detours.
The practical effect of all this is that people who read Maximonicoly's work tend to come away actually capable of doing something with it. Not just vaguely informed — actually capable. For a writer working in alawi wilderness navigation, that is probably the best possible outcome, and it's the standard Maximonicoly holds they's own work to.
Operations & Field Coordinator
There is a specific skill involved in explaining something clearly — one that is completely separate from actually knowing the subject. Maximonicoly Robinson has both. They has spent years working with alawi wilderness navigation in a hands-on capacity, and an equal amount of time figuring out how to translate that experience into writing that people with different backgrounds can actually absorb and use.
Maximonicoly tends to approach complex subjects — Alawi Wilderness Navigation, Frontier Findings, Gear Setup and Trail Tips being good examples — by starting with what the reader already knows, then building outward from there rather than dropping them in the deep end. It sounds like a small thing. In practice it makes a significant difference in whether someone finishes the article or abandons it halfway through. They is also good at knowing when to stop — a surprisingly underrated skill. Some writers bury useful information under so many caveats and qualifications that the point disappears. Maximonicoly knows where the point is and gets there without too many detours.
The practical effect of all this is that people who read Maximonicoly's work tend to come away actually capable of doing something with it. Not just vaguely informed — actually capable. For a writer working in alawi wilderness navigation, that is probably the best possible outcome, and it's the standard Maximonicoly holds they's own work to.